CopiaFacts can use the Smart ATA from NetGen Communications, Inc. as an "FXO Analog Telephone Adapter" to connect one or more analog phone lines to the CopiaFacts Engine. The ATA, also called a gateway, replaces the need for a fax modem or fax board, such as Brooktrout, Diva, or Dialogic, but still requires VoIP Ports, such as Commetrex BladeWare, to interface CopiaFacts to the ATA over your network.
Initial set-up of the Smart ATA
Start by connecting the ATA(s) to the analog phone line and to your internal network.
•Be sure to connect the analog lines to the FXO ports, not to any other ports.
•The ATA will use DHCP to get its internal IP address. There are important considerations in setting this up:
•You must find out what IP address has been allocated by DHCP, because it will be needed to configure CopiaFacts.
•You must set up your DHCP server to allocate a static, unchanging IP address for the ATA.
•Please contact Copia Support if you can not discover the IP address: if you have asked your IT network specialists to configure a static IP route in the DHCP server, they will be able to tell you what the address is.
•If the number changes the new number has to be updated CopiaFacts and in the FoIP software (Bladeware, XCAPI, SR140).
•You can verify this IP number by entering it into a web browser on the network. You should see a admin login screen, and the password is on a paper in the box. The default password is voip.
•Next you have to know the analog phone number or extension. When you call that number you should see the light for the channel show that the line is ringing.
At this point please contact Copia support, who will connect using COPIATECH and help you complete the configuration.
In some circumstances the ATA may hang up an outbound call immediately on detecting Busy, causing BladeWare to return a 'no fax' outcome. For this reason an action code of 3 (in column 5) has been specified as the default for outcome code 7649 ('no fax') in the built-in settings documented in CF9.SMR. If the hangup occurs within 3 seconds the outcome class for this outcome will be changed to B, thus allowing it to be retried using the retry delays for this outcome class. The variable SET_OC_BUSY_MS can be used (in CFG, USR or FS) to assign an override value in milliseconds to the trigger interval. You can suppress the change of outcome class entirely by using a Custom SMR file without an action code of the on the entry for outcome code 7649.
Example: to extend the interval to 9 seconds, you could add in FAXFACTS.CFG:
$var_def SET_OC_BUSY_MS 9000
Configuration of the Smart ATA
 | In the screen shots below, 192.168.6.8 is the IP address of the ATA, and 192.168.6.11 is the IP address of the machine node on which COPIAFACTS is running. Replace these addresses with those of your own ATA and CopiaFacts machine. |
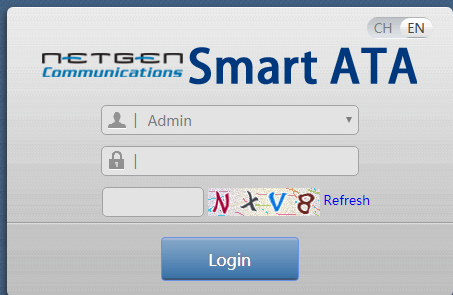
Use your Browser and enter the ATA IP address, to log in to the Smart ATA:
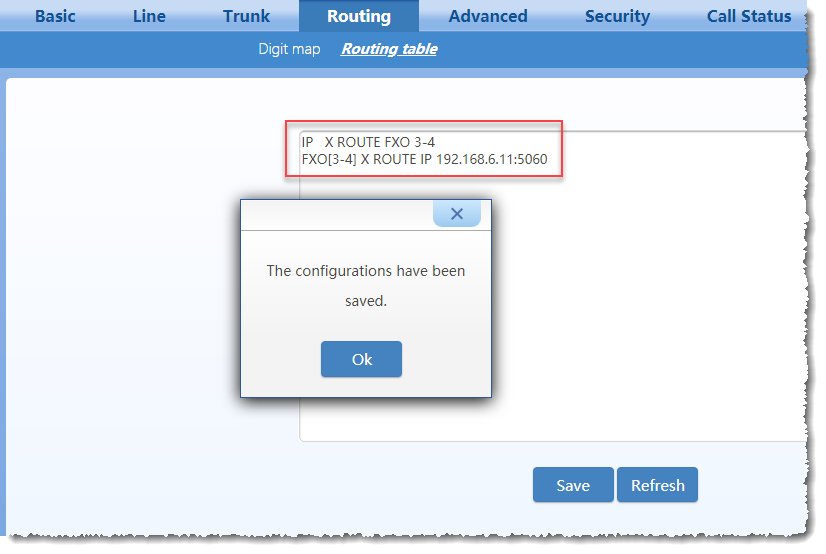
On each configuration tab in the ATA there is a Save button: after making the changes described below, click Save and then click OK on the confirmation dialog:
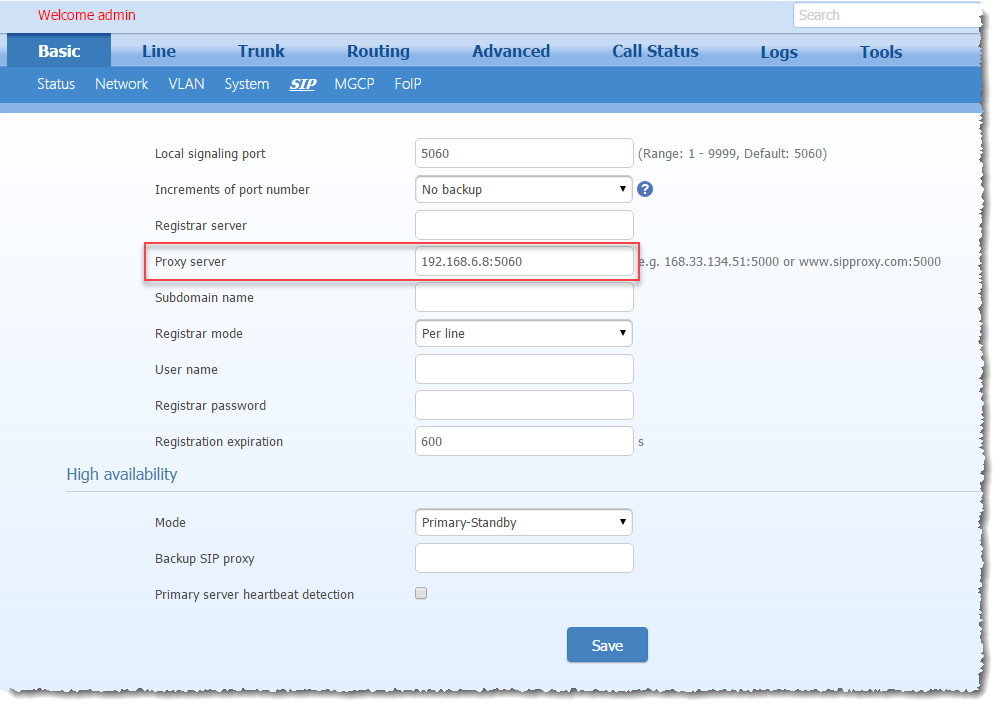
On the Basic tab, enter the IP address of the ATA, with the port number, into the Proxy Server field:
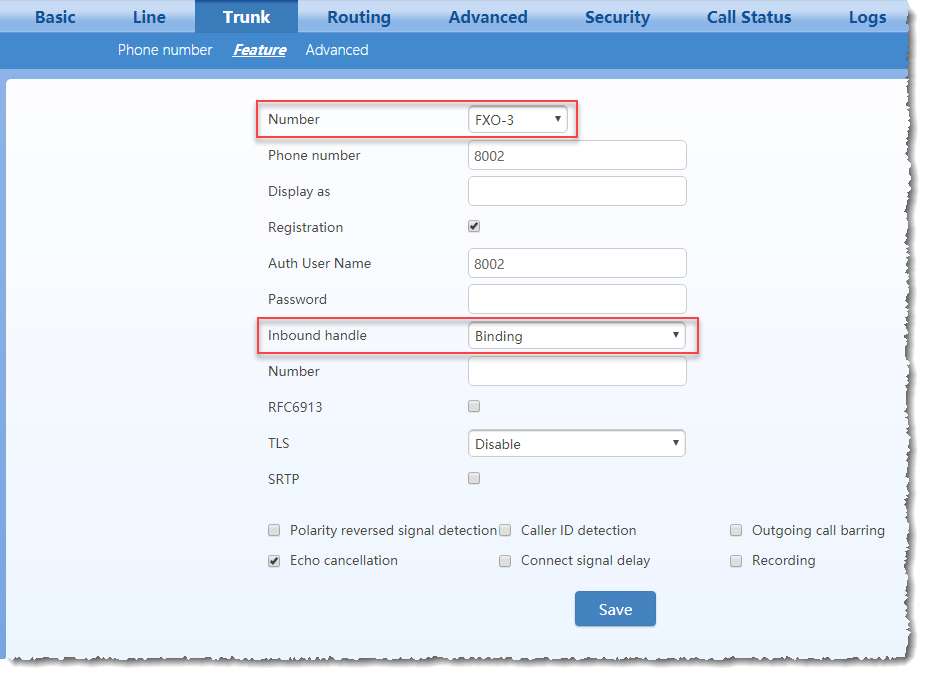
On the Trunk tab, set the Inbound Handle field to Binding, and save for both FXO-3 (which is actually the FXO1 jack) and FXO-4 (which is the FXO2 jack). Click on Save for each one:
On the Routing tab, type in the lines below, of course changing the lP address to match the address of your COPIAFACTS node:
IP X ROUTE FXO 3-4
FXO[3-4] X ROUTE IP 192.168.6.11:5060
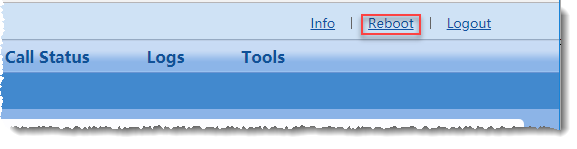
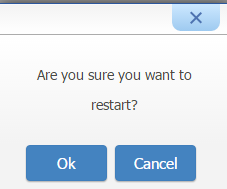
Finally on the main window, click Reboot and then click OK to confirm:
CopiaFacts Configuration
The configuration of CopiaFacts for the ATA when using BladeWare is done using the OTFCONFIG program.
| In OTFCONFIG, click Save when all entries are completed, not on each tab as in the Smart ATA configuration. |
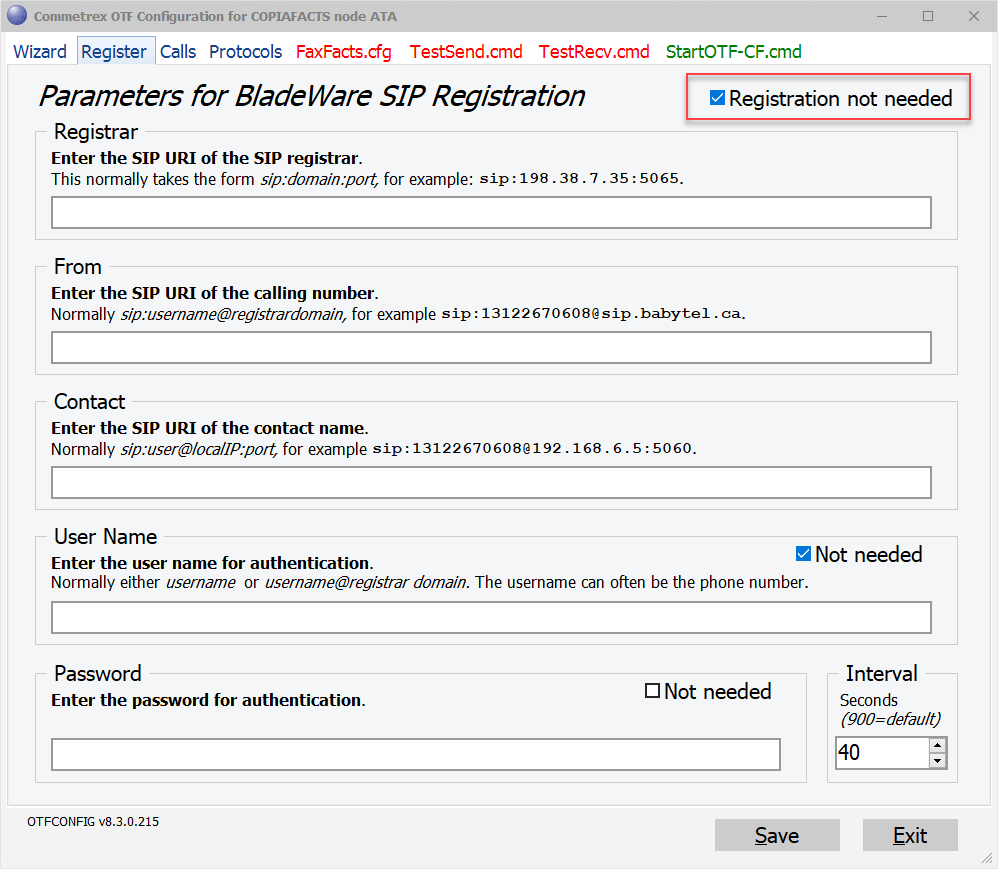
On the Registration tab, select Registration not needed:
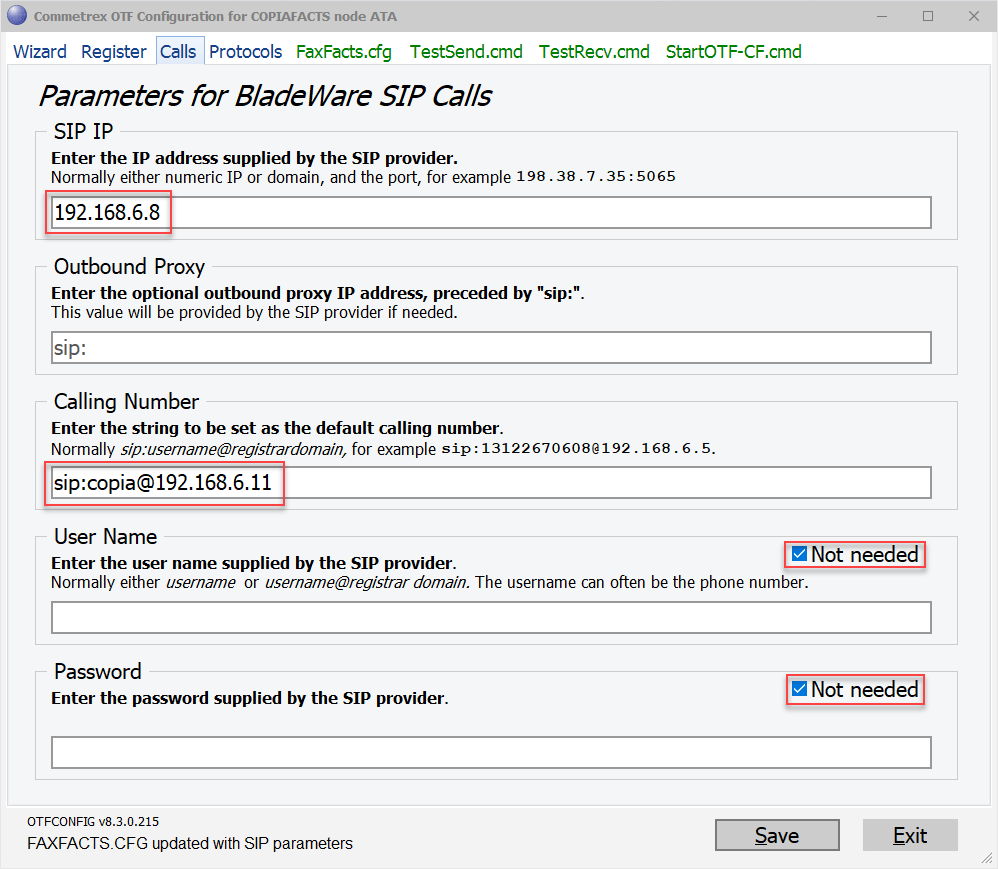
On the Calls tab, enter the ATA IP address as the SIP IP, and CopiaFacts machine IP address in the Calling Number field:
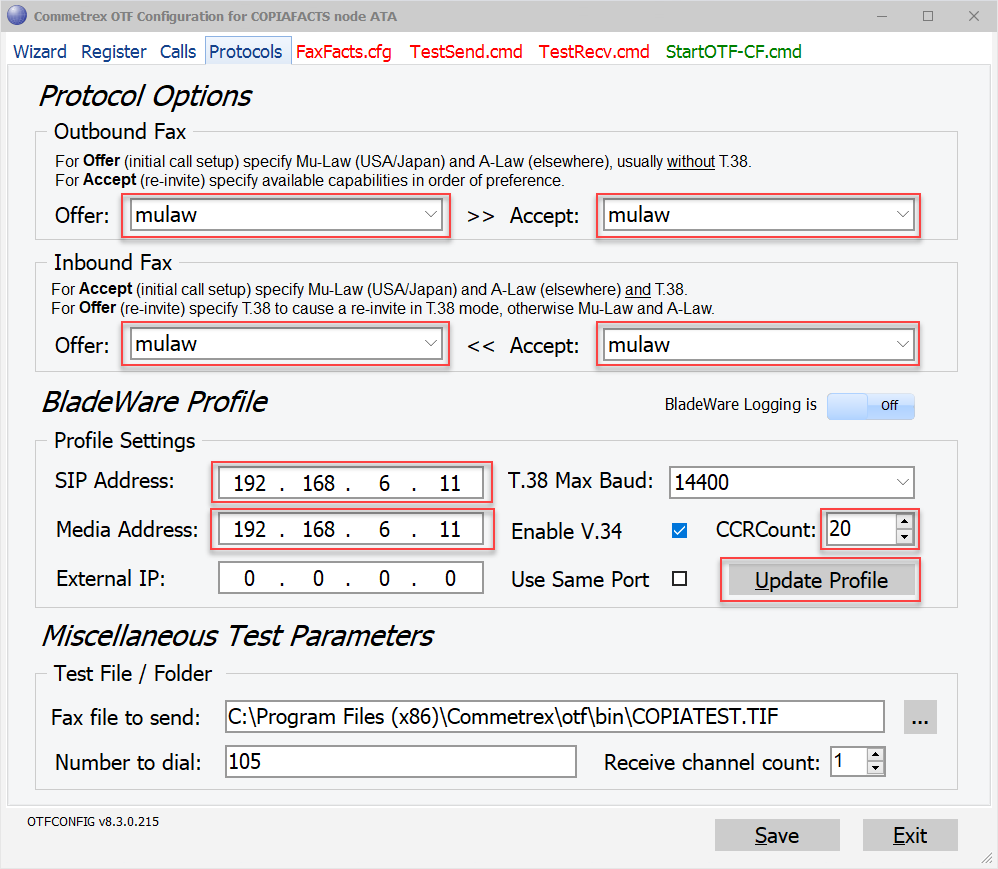
On the Protocols tab, Set the Protocols without T.38, and right-click to select the IP address of the CopiaFacts Machine in the Bladeware Profile section. Click Update Profile after making the Profile settings:
Finally, click Save to save the configuration: