The examples in this topic are shown as numbered $image_options sets, but in some cases it will be appropriate to add some of the values to the default option set, number 0. To implement and adjust these examples, you may find it helpful to first study the procedure showing how to create a new set of options in this example.
The file size comparisons are for a larger image than the clips shown, and are for comparison only.
Removal of solid background colors
The process for BGCOLORn first counts the number of non-white pixels of each color on the page. Any counts where the number exceeds n% of the total, and the intensity of the pixel is over 64 (out of 256), is changed to white. The standard value for n is 20, but if you have a lot of other colored rules, text or images on the page you may need a lower value to pick out a panel of solid color, especially if it does not cover the whole page. A safe value would therefore be 15:
$image_options 5 "BGCOLOR15 <Solid BG removal>"
Original PDF |
Default, no options (376kb) |
Light colors to white (22kb) |
BGCOLOR15 (58kb) |
|
|
|
|
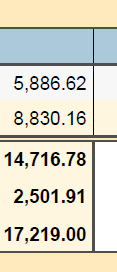
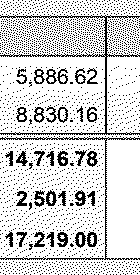
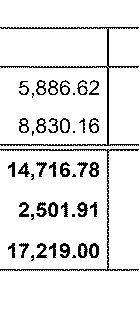
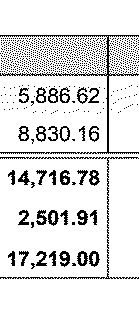
In the example above, the KB values are for a whole page. Without options it took nearly 10 minutes to fax the page. Changing lighter colors to white lost both the small areas of blue table headings and the yellow background which extended over most of the page, but transmitted very quickly. Using the suggested removal of the background color still produced an 85% reduction in transmission time, but retained important document features such as the shaded table headings.
Photographed Documents
You may be asked to fax a document which has been e-mailed to you as a JPG image from a smartphone. In such images the paper is often colored gray, or light brown if photographed in artificial light. The color will not be uniform, so will not be picked up as a 'solid color' with the BGCOLOR keyword. The JPG may not be a standard document size. And like all JPG files, edges of letters may not be sharp but will have a very thin fringe of gray or lighter color around them. Generally you need to lighten the image, change some of the lightest colors to white, perhaps increase the contrast, scale it up to a full page, sharpen the edges, and perhaps remove some speckle:
$image_options 6 "SCIMG GAMMA1.2 LIGHT160 CONTRAST EDGE DESPECKLE <Photo of Doc>"
Illustrations of a photographed original and its "before and after" conversion can be found in this example.
Color and Gray-scale Images and Photographs
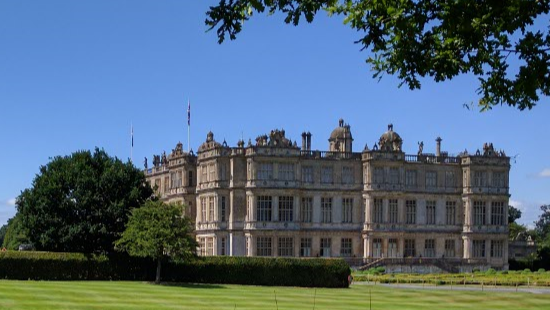
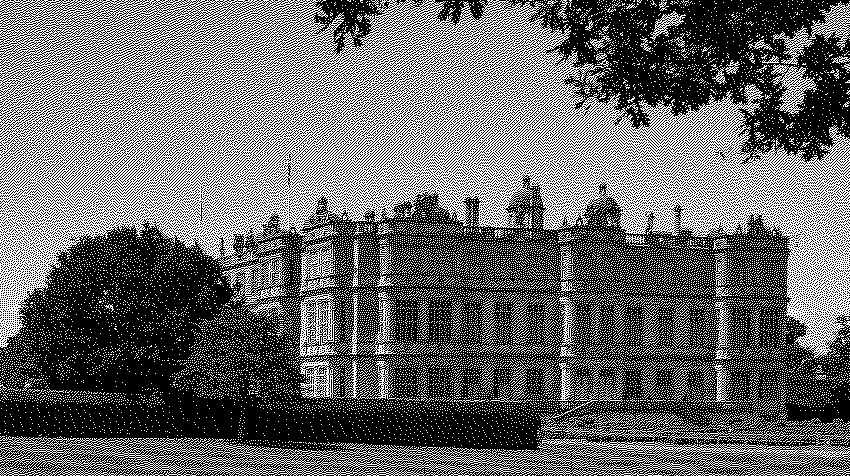
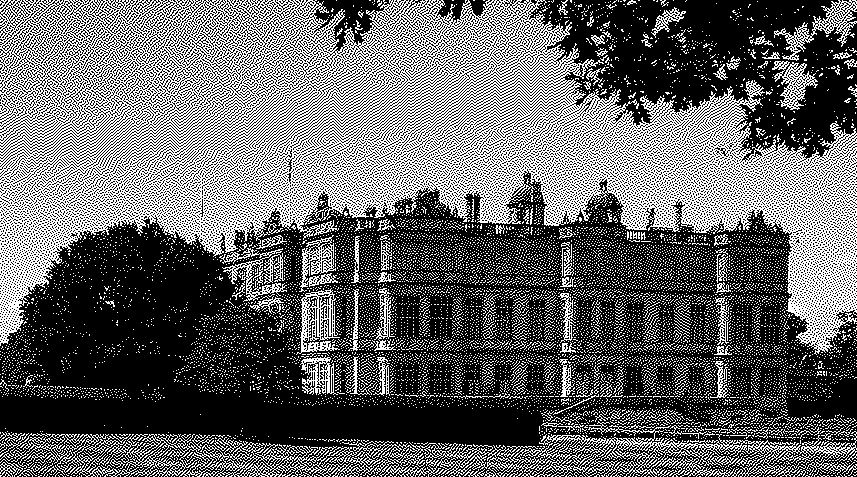
Architectural and medical images often just take a long time to transmit; to maintain image quality there is little opportunity to reduce the file size. Increasing the contrast may sometimes improve matters but in others can make the size larger. If you often have to transmit photographs one thing to consider is to change the dithering method. This has little effect on text documents so you may be able to set it as a default. For example the Atkinson method (DITHER12) produces a somewhat coarser image from a color original but gives nearly a 40% reduction in this example:
$image_options 7 "DITHER12 <photographs>"
ORIGINAL JPG |
DITHER5 (831kb) |
DITHER12 (516kb) |
|
|
|
Colored and Gray text
Text in a PDF or image can often arrive for faxing with dark gray or dark blue lettering, not fully black. When converted for faxing, the letters will then acquire a 'speckle' instead of being converted to solid black reducing legibility in small font sizes and increasing transmission time in large font sizes. There are various ways to avoid this. For text alone, it is usually safe to darken the whole document, but it may be better to change all dark grays and dark colors to black.
$image_options 8 "DARK80 <fix gray text>"
ORIGINAL PDF |
No Options (8kb) |
DARK80 (2.3kb) |
|
|
|

Color Sales Brochures
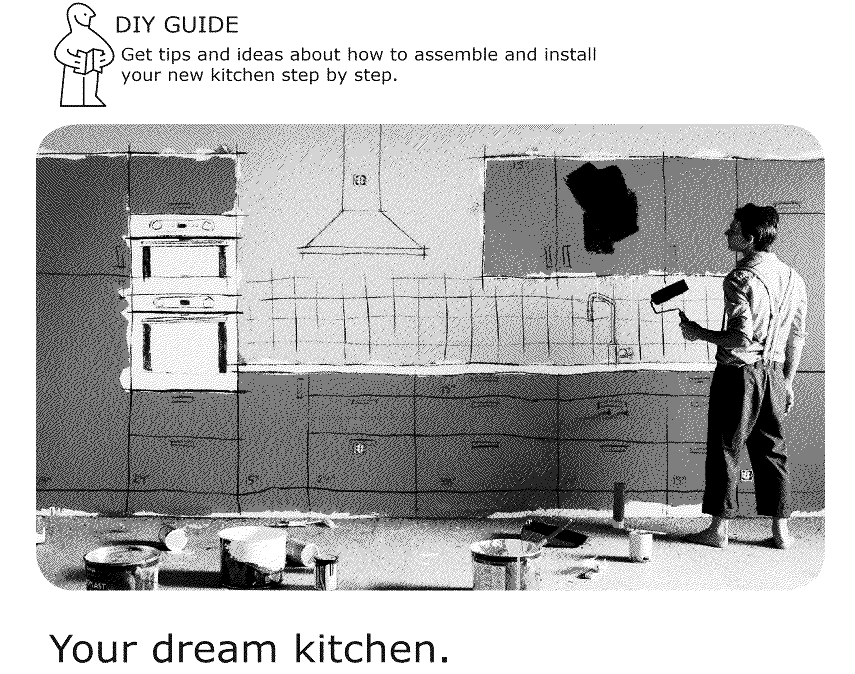
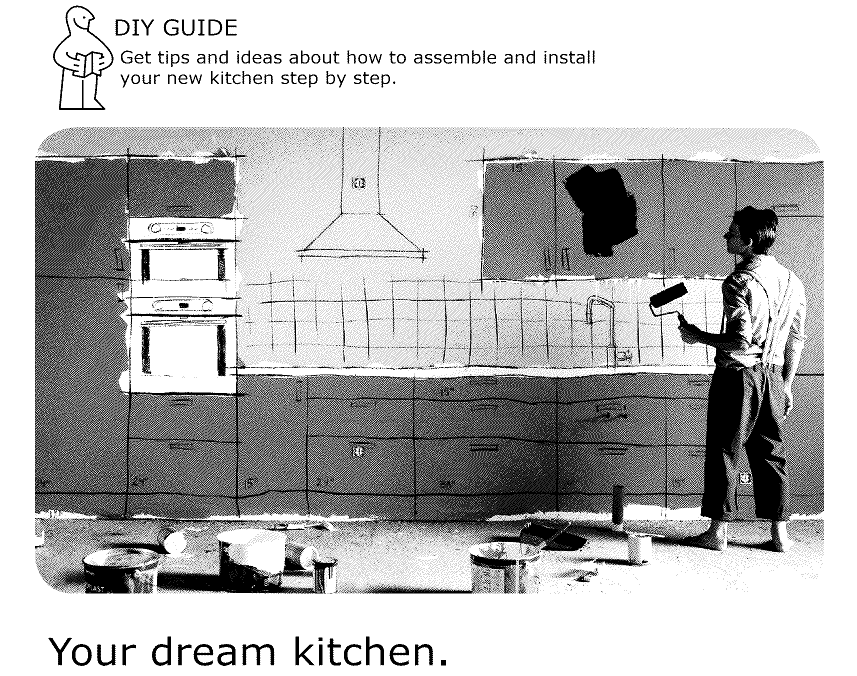
Some colored originals can be improved slightly for the fax recipient by lightening or darkening the image before transmission, perhaps with change of contrast. However it is difficult to know whether to increase or decrease the Gamma for a specific image. Once again the dithering option may come to you rescue. Unlike the photograph above where the difference in quality and detail in the full image is easy to see, a commercial brochure will not suffer much, after fax transmission from a lower quality dithering algorithm. Another example is below.
$image_options 9 "DITHER12 <photographs and brochures>"
ORIGINAL JPG |
DITHER5 (652kb) |
DITHER12 (473kb) |
|
|
|

Your Examples!
If you have a 'difficult' document and are able to produce a high-quality faxable version with a specific Image Option Set, we would be pleased to consider including a sample of it in a future version of this topic.