Introduction
To add channels, right-click the blue CopiaFacts Channels line
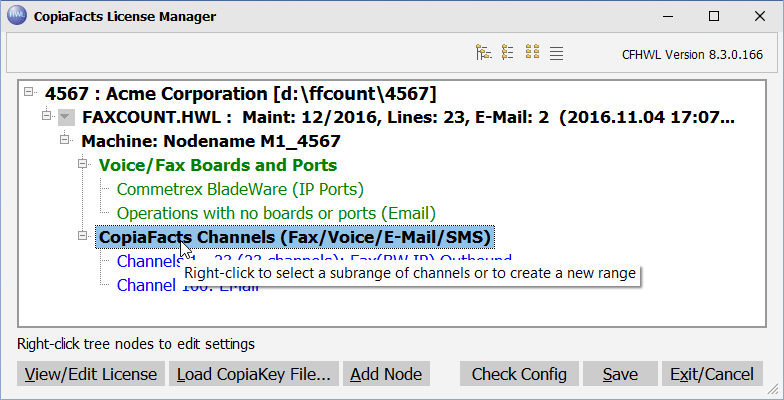
The channel configuration dialog allows a group of channels to be configured in a single step. Unlike the FFHWL configurator in earlier releases, it is no longer necessary to visit a separate Lines page to configure every line. To be selected as a group, a set of channels in a machine node must:
•be an unbroken sequence of channel numbers
•all have the same voice/fax board, channel options and default ANI phone number (if defined)
•for voice and fax boards, have an unbroken sequence of voice-channel and fax-channel numbers
The channel configurator automatically assigns channel to groups before and after any changes are made. Each group (or single channel) has a starting and ending channel number, and a count of channels included in the group:
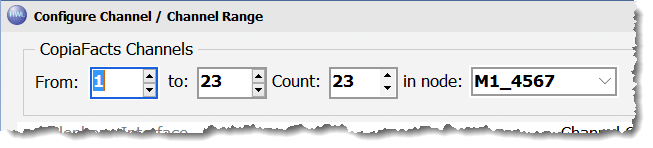
When entering a new range, the boxes flash to show the sequence in which the data has to be entered.
To add another 23-channels in the above node, you can change either the count or the ending channel to read 46. The counts for the voice-channels and fax-channels will be extended to match:
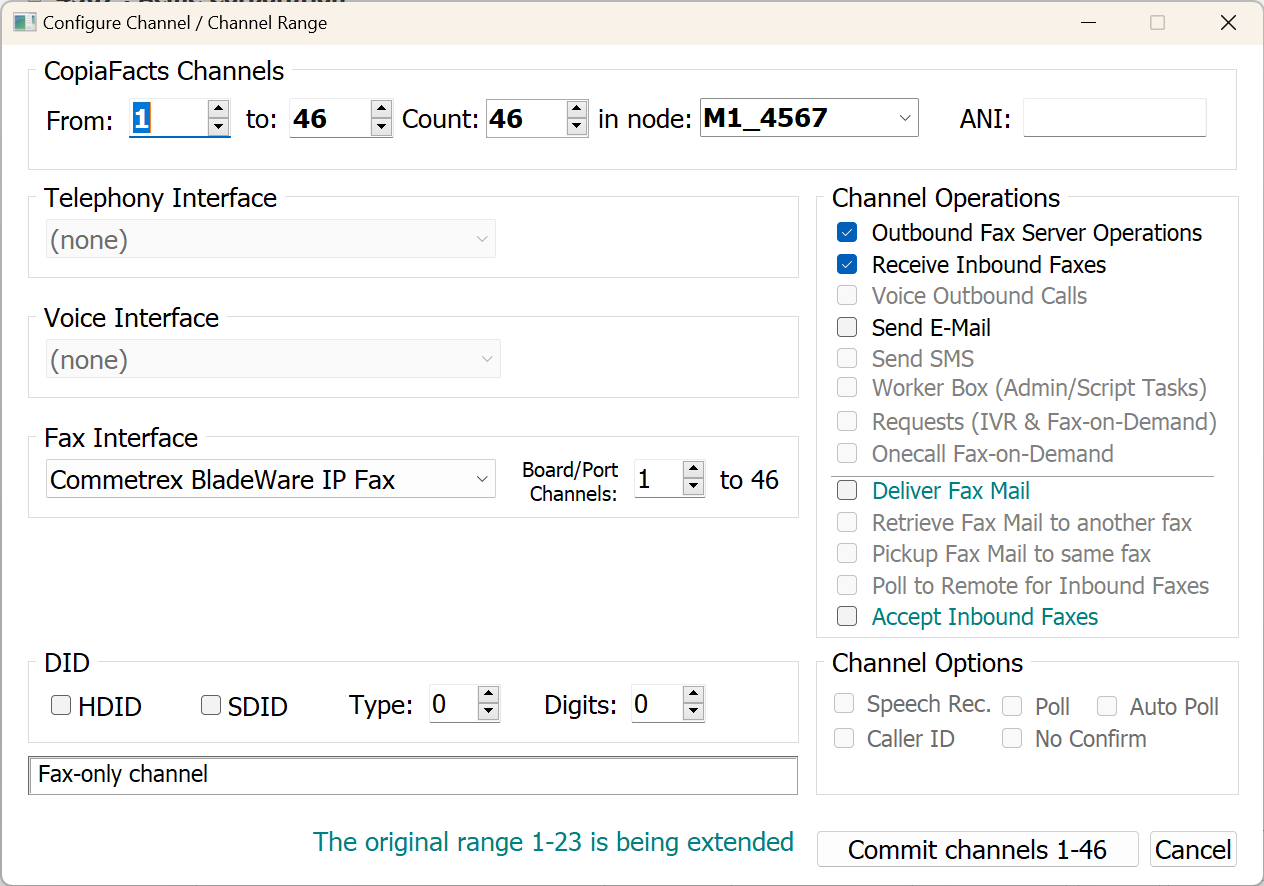
The HDID and SDID checkboxes, above, select the method of handing inbound calls. "Hardware DID" causes the incoming dialed number to be taken from a digital fax board (if still in use) or from the SIP invite. The number can then be used to route or direct the processing of an incoming fax (or voice) call.
The feature that Copia describes as "Software DID" causes the system optionally to play a voice prompt to request a number of routing code on connection of an inbound call. It then waits for DTMF to be sent with the number. This is a legacy feature, from the time of analog voice/fax boards. It requires voice capability on the channel handling the call, and a PBX or service which can send the required DTMF after call connection.
To enter a DID type, right-click it an select the option(s).
Note that the operation being performed in this dialog is described at the foot of the form. If the message appears in red, it indicates that you may need to check that you are performing the wanted operation before you commit the change.
Selecting an Existing Range
To select an existing range, right-click the range in the main configurator window:
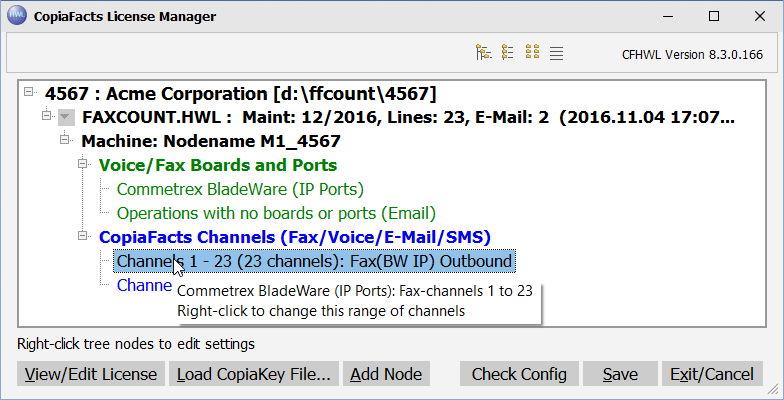
After the range has been selected, you can:
•extend the range by increasing the ending channel number or the count
•reduce the range by decreasing the ending channel number of the count - a warning will show that the channels beyond the reduced number will be deleted from the node.
•change the properties of all the channels in the range
•copy the range to a new set of channels by changing the starting channel number
•change the machine in which the range is defined by changing the node name
•delete the entire range from the configuration by selecting '(not defined) in the node name pull-down